How to Remove the Wire or Cable's Clothing Without Damaging the Skin?
In the world of wire and cable processing, wire stripping is the "gateway" operation for all subsequent steps. If stripping is like "removing clothing," then the conductor strands inside are the delicate "skin." Often, a parameter miscalibration of just 0.01mm can turn a perfect wire into a scarred and defective product. How can we strip the insulation cleanly and completely without damaging the underlying copper strands? This is not merely a matter of adjusting machine settings; it's a nuanced art of physics and geometry.
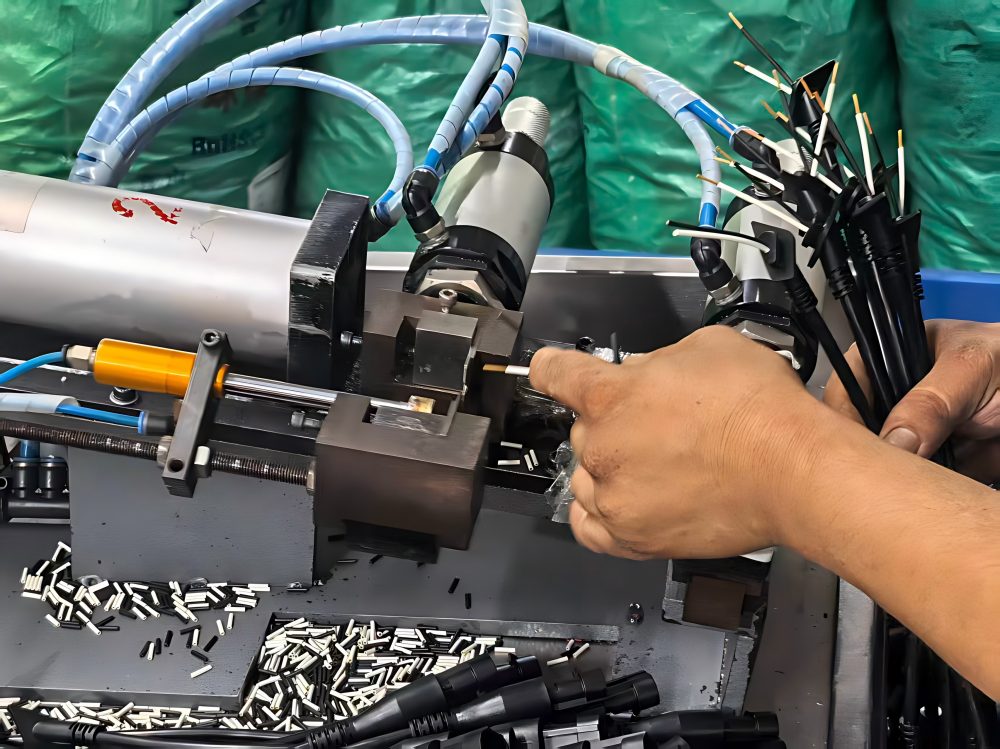
Why Does the 'Skin' Get Damaged? Unveiling the Physics of Stripping
Many believe a stripping blade cuts through insulation like a knife through butter.
That's incorrect! The actual stripping process involves two distinct stages:
✅ The Cut-in Phase: The blade moves vertically downward, cutting through approximately 60%–80% of the insulation thickness.
✅ The Strip-off Phase: The blade stops its downward motion and begins to move laterally. The remaining, uncut portion of the insulation thins under the applied force and finally fractures naturally under the pushing action of the blade edge.
The Truth Behind Conductor Damage: Damage often occurs not from excessive pulling force, but because the blade cuts too deep. When the blade penetrates beyond the insulation's limit or comes too close to the conductor during the strip-off phase, even the slightest vibration can cause the blade to "engrave" marks directly onto the copper strands.
Rejecting "Brute Force": Mastering the Three Key Parameters
To prevent conductor damage, you must expertly control these three "golden parameters" on automated equipment:
1. Cut-in Depth — Finding the "Sweet Spot"
This is the most critical parameter.
Recommended calculation:
✅ Target Blade Depth ≈ Cable OD − Conductor OD − Safety Margin
✅ Common Practice: Cut-in Depth = Cable OD − Conductor OD − (0.05 to 0.10 mm)
Pro Tip: "Start Shallow, Then Go Deeper."
During setup, begin with a conservative depth guaranteed not to nick the conductor. If the insulation doesn't pull off or leaves a long "tail" (burr), then make fine adjustments downward in increments of 0.01mm.
2. Retract / Back-off Value — The Lifesaver of Stripping
This is the ultimate technique for preventing scrapes.
The principle: After reaching the target cut-in depth, the blades retract (open slightly) by a tiny amount before beginning the lateral stripping motion.
Why it's crucial: This slight "pullback" creates a minute safety gap between the blade edge and the conductor. During stripping, the blade then pushes the insulation off instead of scraping along the copper.
3. Stripping Speed — Firm yet Gentle
✅ Soft Insulation (e.g., Silicone): Use a slower speed.
High speed can over-stretch and thin the insulation, leading to uneven cuts and residual adhesive.
✅ Hard Insulation (e.g., Teflon/PTFE): Use a faster speed.
Utilize a sharper, more impactful force to cleanly sever the polymer chains for a smoother cut.
Troubleshooting Guide: Addressing Adhesive Residue and Scratches
Q1: The conductor feels "gummy" after stripping, with leftover adhesive or insulation fragments?
Root Cause: This is typically due to adhesion between the insulation and conductor from the extrusion process.
Solutions:
① Use a "Half-Strip" technique: Strip the insulation in two stages to reduce frictional resistance.
② Use coated blades: Blades with a non-stick coating (e.g., Teflon) reduce material adhesion.
Q2: The strands aren't broken, but show obvious shiny scratch marks?
Root Cause: A classic sign of insufficient retract/back-off value. The blade edge is scraping against the conductor like a plane during stripping.
Solution: Increase the retract value appropriately.
Q3: One or two fine strands always break when stripping multi-stranded wire?
Root Cause: High conductor eccentricity (off-center) is often the culprit.
Solutions:
① Check wire quality. If eccentricity is the issue, switch from a V-shaped blade to a radius (curved) blade, which better envelopes the conductor for balanced force distribution.
② Slightly decrease the cut-in depth to compensate for eccentricity.
The Intuition of a Master Craftsman
In real-world production, no single parameter set works for all wires. Ambient temperature changes (which harden or soften insulation) and blade wear constantly affect outcomes.
The Discipline of a Professional: Perform visual inspection of stripped ends every two hours. Don't just look with the naked eye—use a magnifying lens to check for minute scoring on the conductors.
Remember: The hallmark of superior stripping is insulation that sheds like the skin of ripe fruit, revealing conductor strands that remain perfectly smooth and bright.
